How to configure web security in IP based
Step 1: Login to the Tacitine. (If you are configuring the Tacitine for the first time, the default Lan IP is https://192.168.100.1:4433)and default username: admin & Password: admin99
Step 2: Click the Configuration > Web security tab > HTTP/S Proxy
Step 3: In setting > Enable the service and operation mode > Transparent
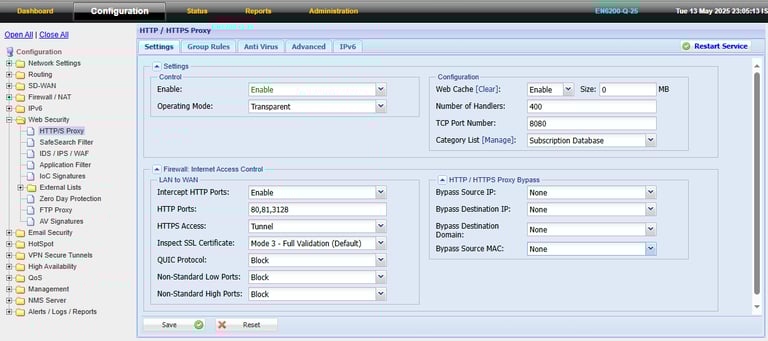
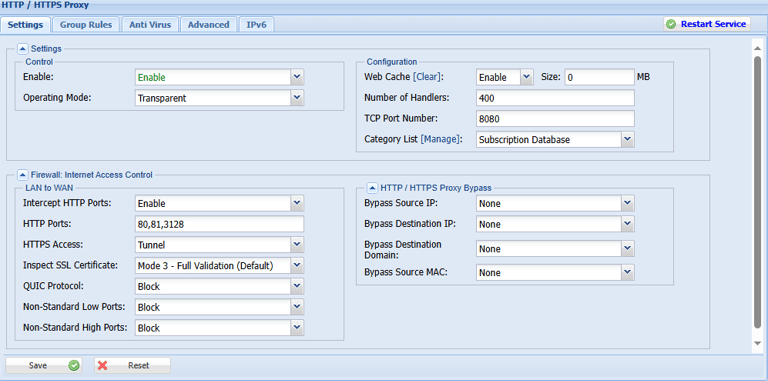
Step 3: Configuration > Web Cache > Enable / Disable and mention the size for store
Step 4: Make Firewall internet access control Select Https Access > Tunnel
Step 5: Http proxy bypass there we can mention the three methods with bypass the source IP and MAC address
Step 6: Bypass destination will help to exclude the destination IP from the web security
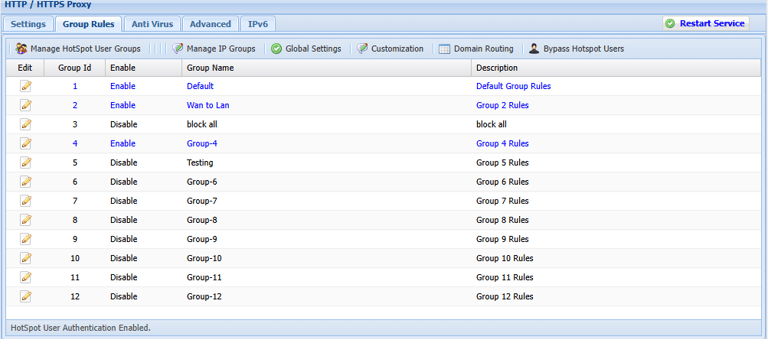
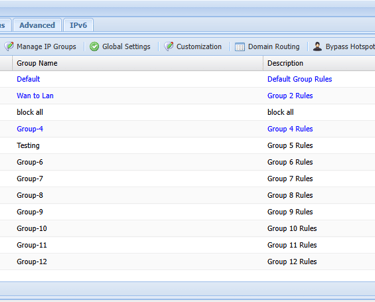
Step 7: Navigate > Group rules
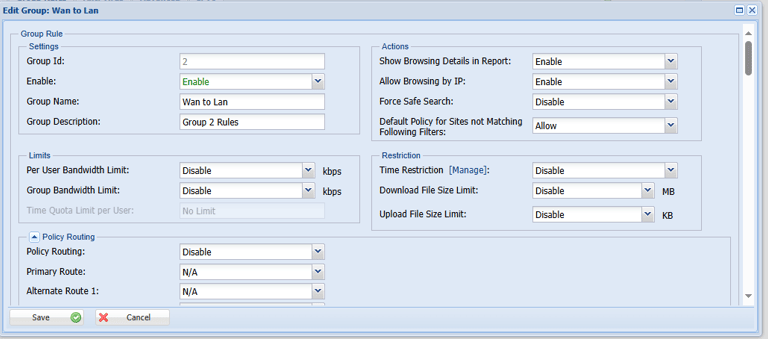
Step 8: If the IP does not assign any group, its user in the Default group -> Edit the Group 2 -> name it
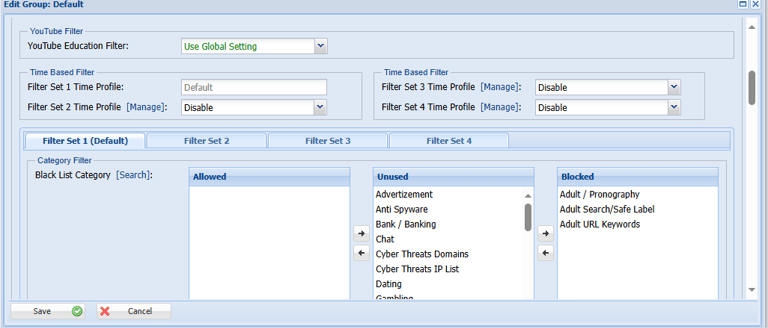
Step 11: Category Filter – > Blacklist category is updated from tacitine server if blacklist category drags the Allowed side related content is Allowed
For Eg: If you want block Adult it is in Adult/Pornography category move that category blocked side the Adult will block
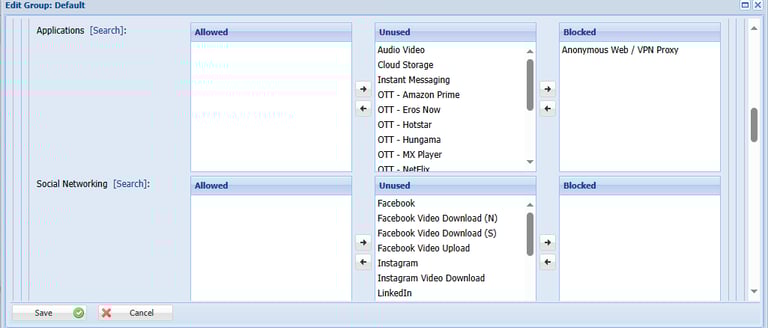
Step 12: Category Filter – > Applications is updated from tacitine server if Applications drag the blocked side related content is blocked
Step 13: Category Filter – > Social Networking is updated from tacitine server if blacklist category drags the Allowed side related content is Allowed
For Eg: If you want block OTT Platform it is in move that category blocked side the OTT Selected Sides will block
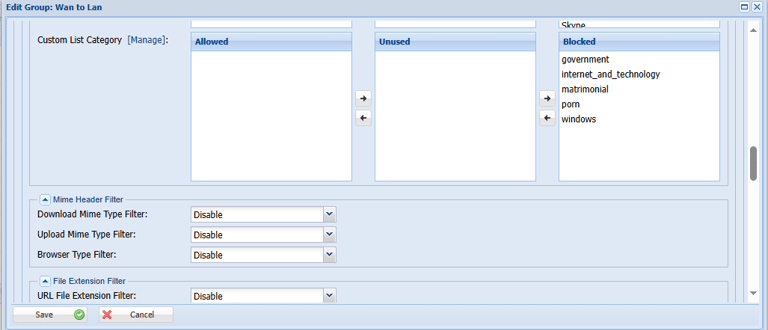
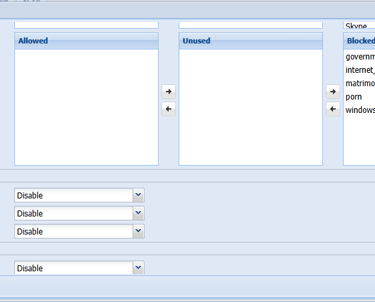
Step 14: Custom List Category we can create our own database list on that we can black or allowed as same as the Blacklist category
For Eg: in your organization in the bank category want to allow only hdfc bank and Indian bank to access we can create the category

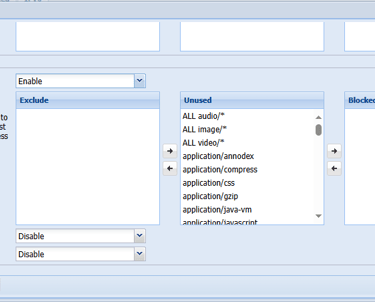
Note: Mime Type Filter restrict in Settings HTTPs Access > intercept mode only
Step 15: Mime-type filter we can be able to block the application, image types like Png, jpeg and video category as same we can allow or blocked we configure it
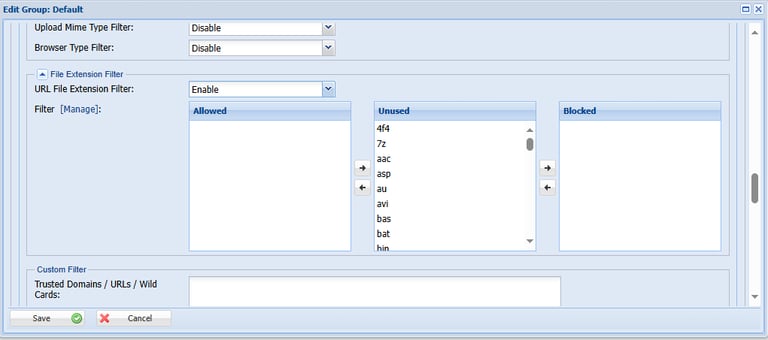
Note: File Type Filter restrict in Settings HTTPs Access > intercept mode only
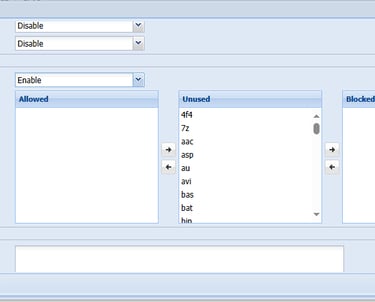
Step 16: File extension filters we can be able to block the URL file extension like 7z, Zip, Php, Avi we can Drag allowed or blocked we configure it
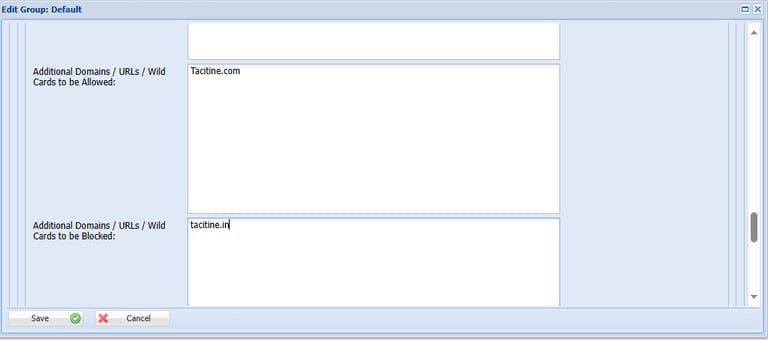
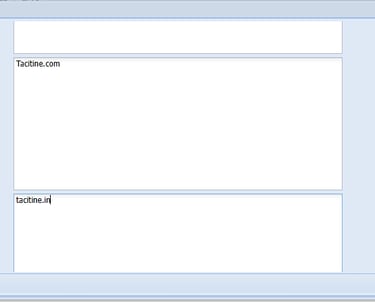
Step 17: we can custom single website want to block or allowed want to mention the website.
for Eg: we can give only domain and extension like Tacitine.com
Step 18: After editing the group -> Save Configuration
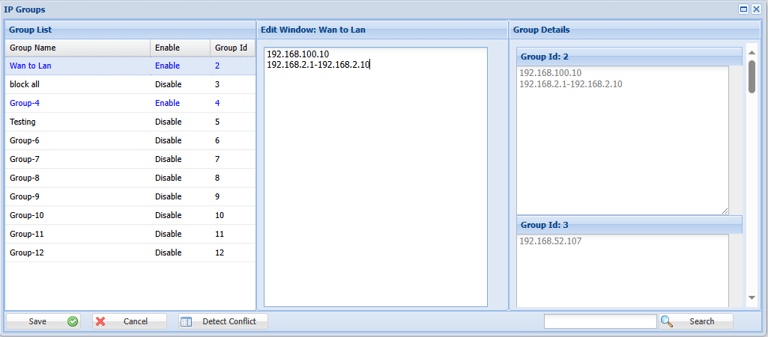
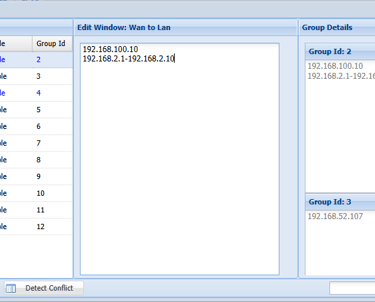
Step 19: In group rule top we can see the manage IP group -> select the Group name -> edit window appears to enter the IP address want to assign to that group
For Eg : we can give IP like 192.168.100.10 (individual) or 192.168.1.2-192.168.2.10 (range)
Step 20: Save > Restart Service
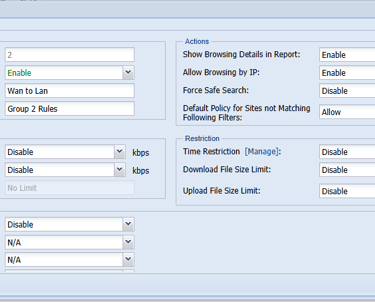
Step 9: in action Tab -> Enable the Show browsing, Enable -> Allow browsing Ip Address, Allow -> Default policy for site not matching
Step 10: Category Filter – > Blacklist Category is updated from tacitine server if blacklist category drags the blocked side related content is blocked