How to configure the VPN client in Mobile Devices

Step 1: Login to the Tacitine. (If you are configuring the Tacitine for the first time, the default Lan IP is https://192.168.100.1:4433)and default username: admin & Password: admin99
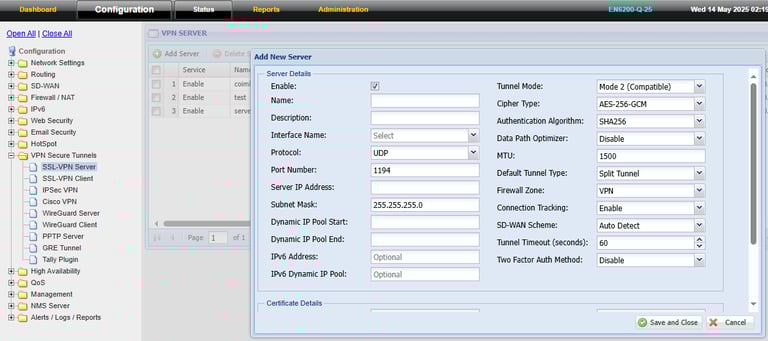
Step 2: Click the Configuration > VPN > SSL-VPN Server > Add > enable the services Provide the descriptions
Step 3: Mention the interface name for e.g.: VST1
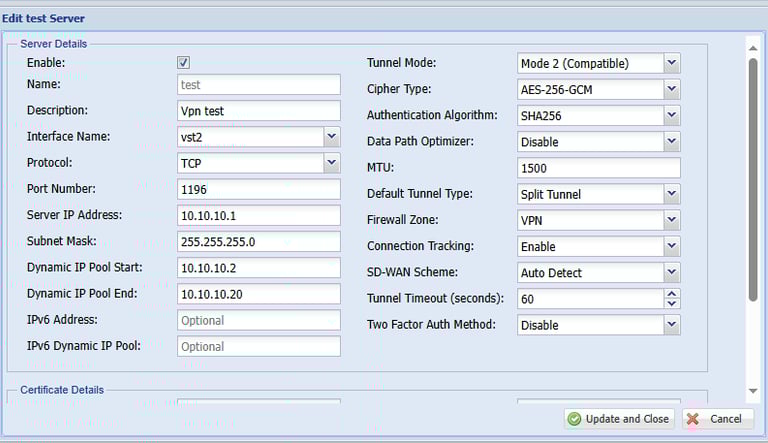
Step 4: Select the protocol where the VPN access via UDP /TCP and provide the port number For Eg default port number 1196
Step 5: Provide the server IP and subnet mask and dynamic start IP and end IP
Note: it should be different from your local IP is given like 10.10.10.1 or 60.60.60.1
Step 6: Select the Cipher Type default use: AES-128-CBC
Step 7: Select the Authentication algorithm Default: SHA1
Step 8: Mention the MTU value Default value: 1500
Step 9: Select tunnel Type default value: split type (it only sends the VPN traffic to Firewall) Full tunnel (all traffic send it through to Firewall)
Step10: enter all certificate details like email, country, etc and organization name
Step 11: Click Save > Restart Services
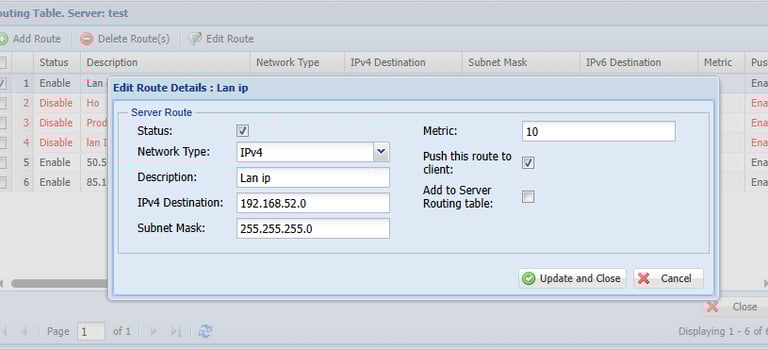
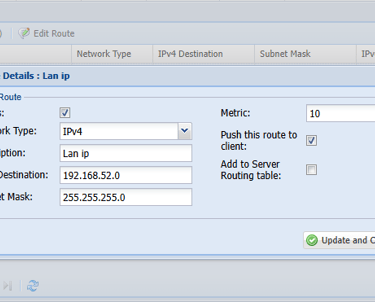
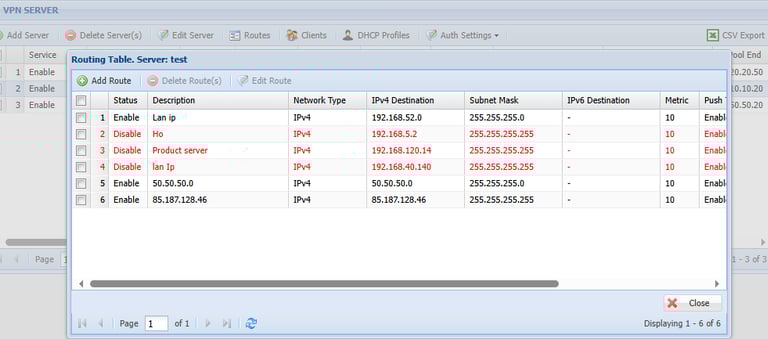
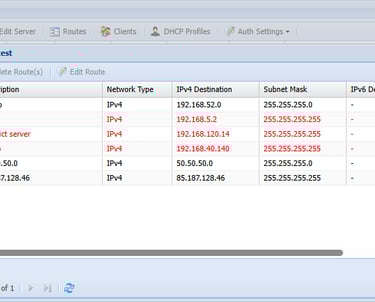
Step 12: Select the Create the Server and Click the Router > Add Route
Step 13: Mention the Description and Destination IP (Network IP and subnet mask) Note: this Lan IP address of the firewall to access through VPN Client
Step 14: Select the Push this route to the client
Step 15: Click Update and Close

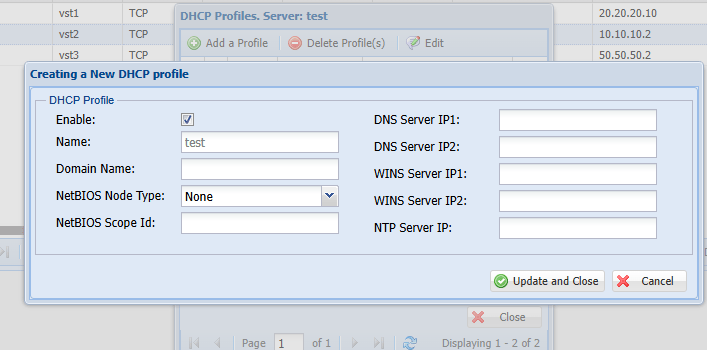
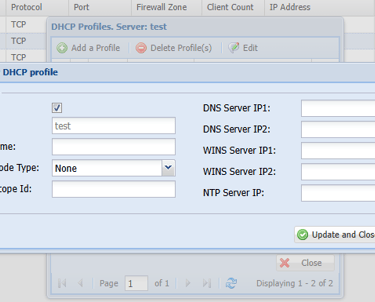
Step 16: Select the Create the Server and Click the DHCP Profile
Step 17: Mention the Name of the Profile
Step 18: Click Update and Close
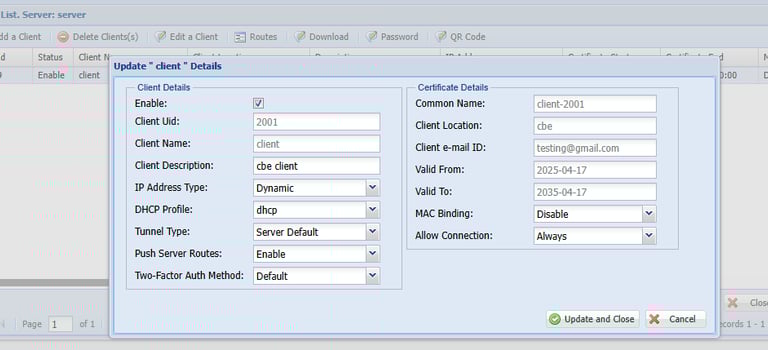
Step 19: Select the Create the Server and Click the Clients > Add client
Step 20: Mention the Client Name Address type: Default and select DHCP Profile and tunnel Type make it as server Default
Step 21: Mention the Certificate details like location, email id and Save
Step 22: Click Update and Close
Procedure Of Install Mobile
Two things we need to configure VPN client in android mobile devices
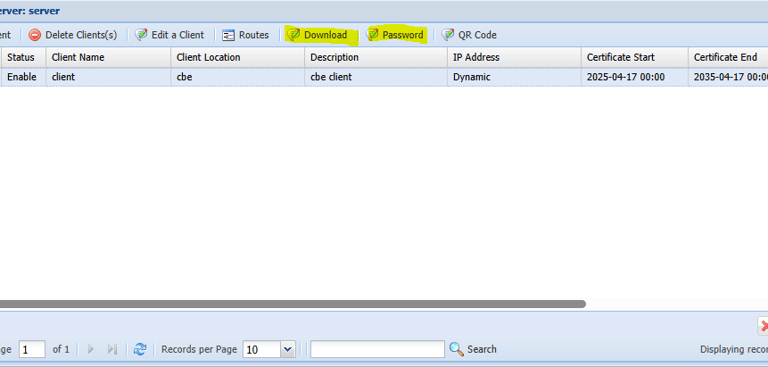
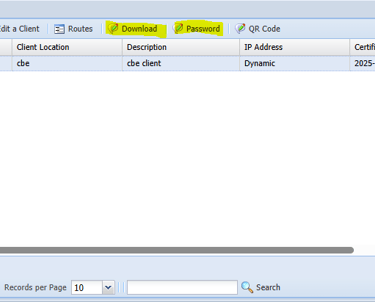
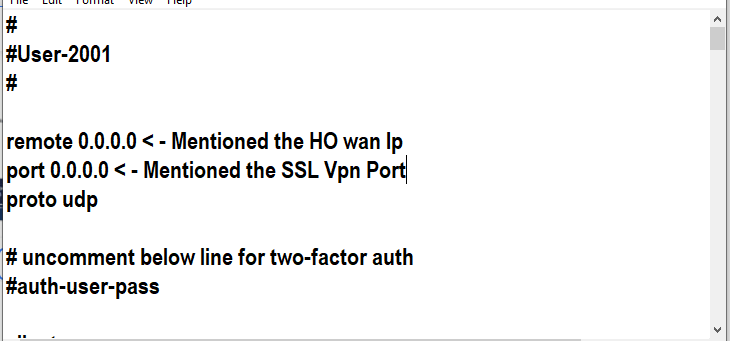
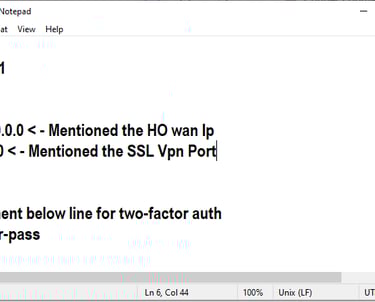
*First, we need to Download the client zip file and extract now you will get the .ovpn file.
*Second thing downloads the password for the same client file.
Note: From the Software Version 18.4.1 only zip file has .ovpn file. For lower versions, we need to create .ovpn file using zip file.
Step 1: Open the .ovpn file from the zip file and replace the remote IP (0.0.0.0) as your VPN server wan IP address also configure port (0000) as Vpn Server Port number and protocol what you have already configured in the VPN server device.
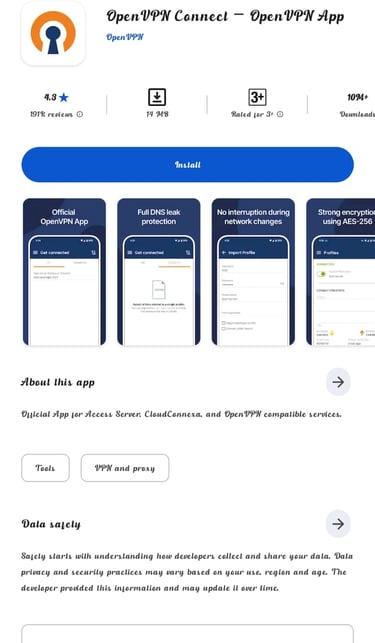
Step 2: Goto –> Play store and install the OpenVPN client app.
Link for client app –> https://play.google.com/store/apps/details?id=net.openvpn.openvpn&hl=en
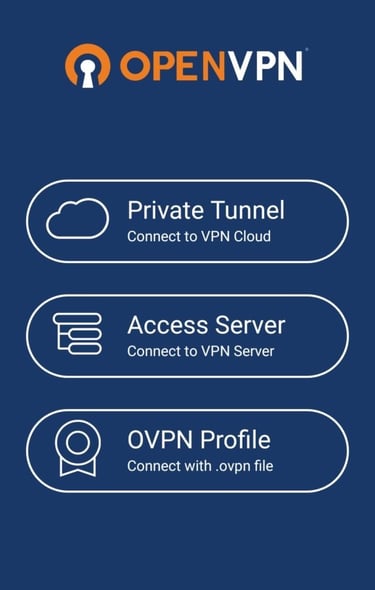
Step 3: After finishing installation open the OpenVPN app
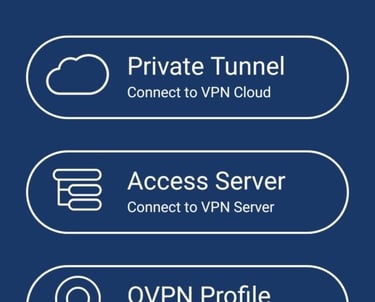
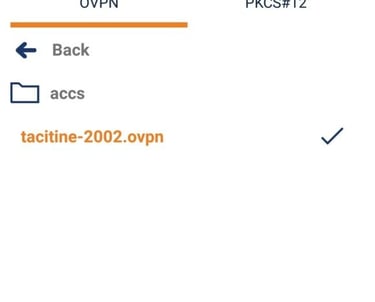
Step 4: Now Click OVPN Profile to select the ovpn file already downloaded from your computer.
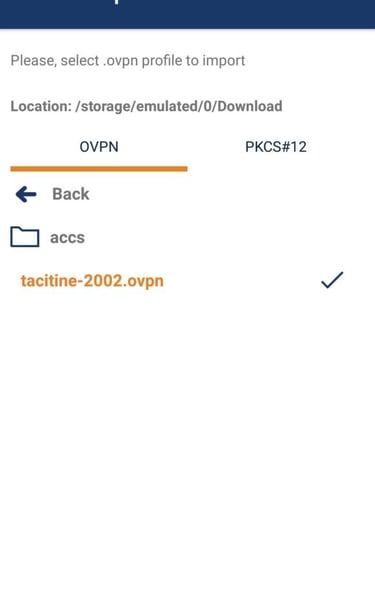
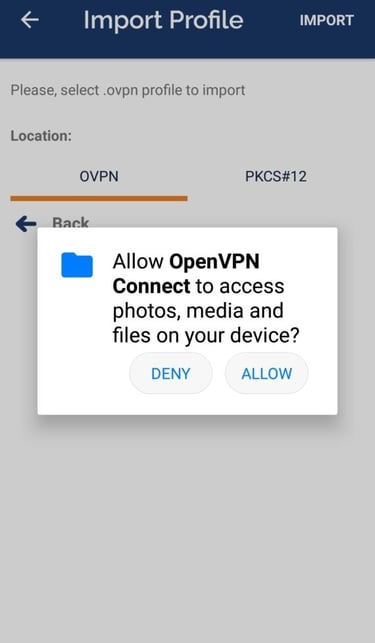
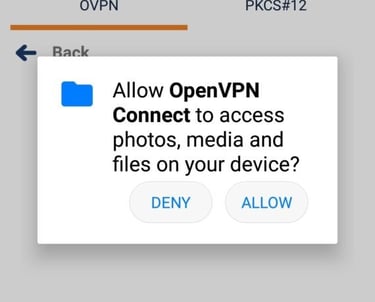
Step 5: Allow media access permission for the app needs to access your storage.
Step 6: Now Click OVPN Profile to select the ovpn file already downloaded from your computer.
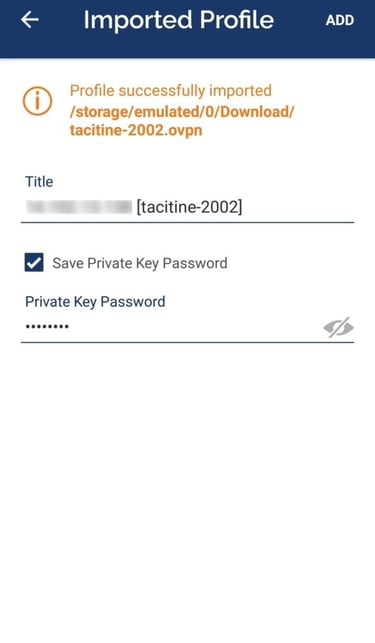
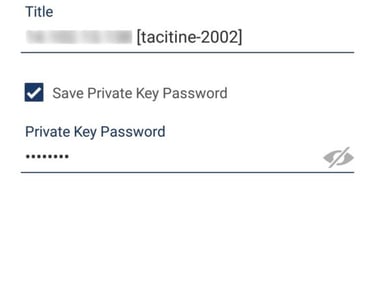

Step 7: Now the file is imported successfully then enter your VPN private key password and Click –> ADD
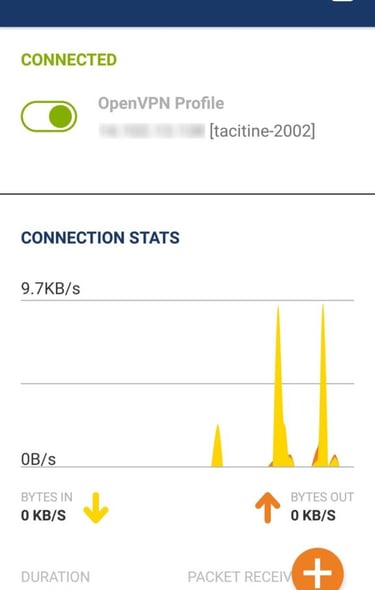
Step 8: Finally Switch on the connection button to connect your VPN client. Now you have connected to your HO network.