How to configure the SSL-VPN Client in Windows

Step 1: Login to the Tacitine. (If you are configuring the Tacitine for the first time, the default Lan IP is https://192.168.100.1:4433)and default username: admin & Password: admin99
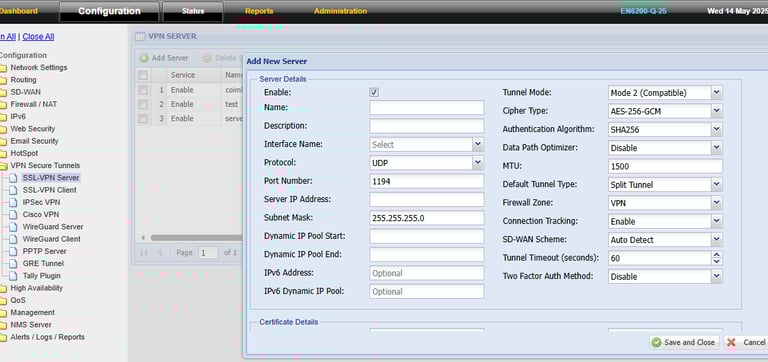
Step 2: Click the Configuration > VPN > SSL-VPN Server > Add > enable the services Provide the descriptions
Step 3: Mention the interface name for e.g.: VST1
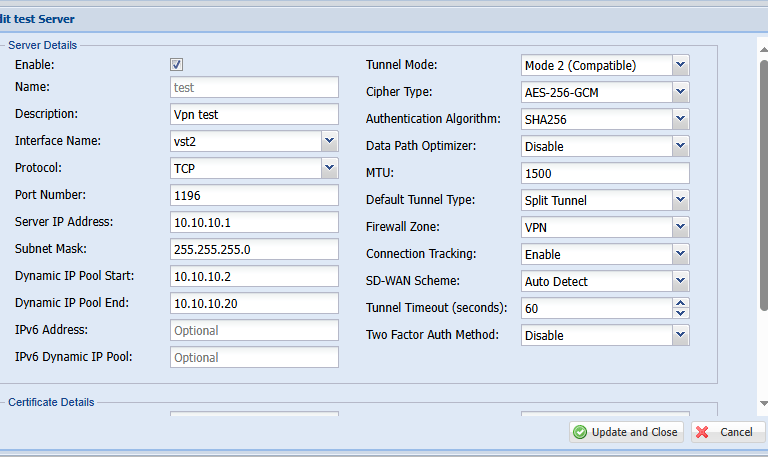
Step 4: Select the protocol where the VPN access via UDP /TCP and provide the port number For Eg default port number 1196
Step 5: Provide the server IP and subnet mask and dynamic start IP and end IP
Note: it should be different from your local IP is given like 10.10.10.1 or 60.60.60.1
Step 6: Select the Cipher Type default use: AES-128-CBC
Step 7: Select the Authentication algorithm Default: SHA1
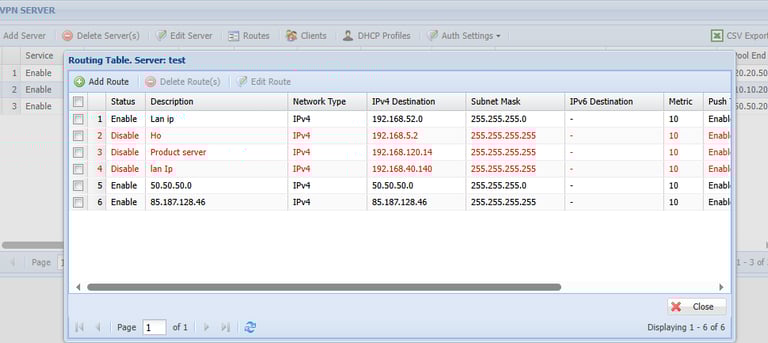
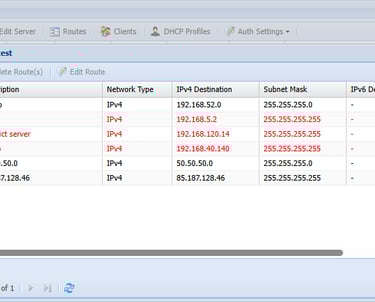
Step 12: Select the Create the Server and Click the Router > Add Route
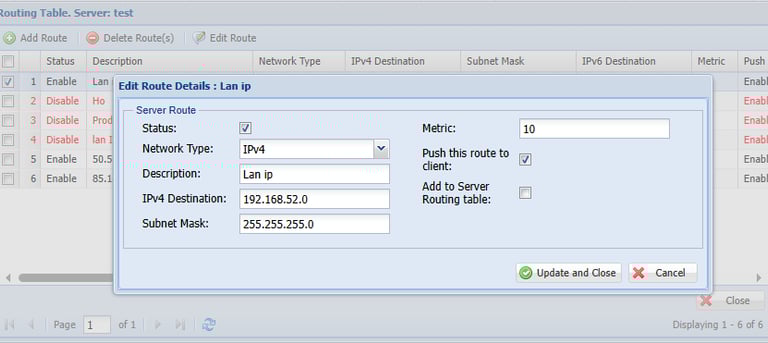
Step 13: Mention the Description and Destination IP (Network IP and subnet mask) Note: this Lan IP address of the firewall to access through VPN Client
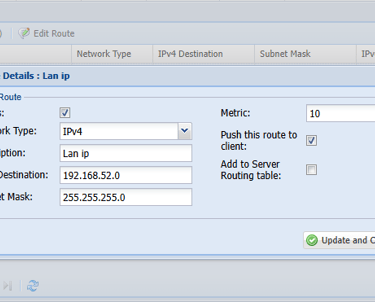
Step 14: Select the Push this route to the client
Step 15: Click Update and Close
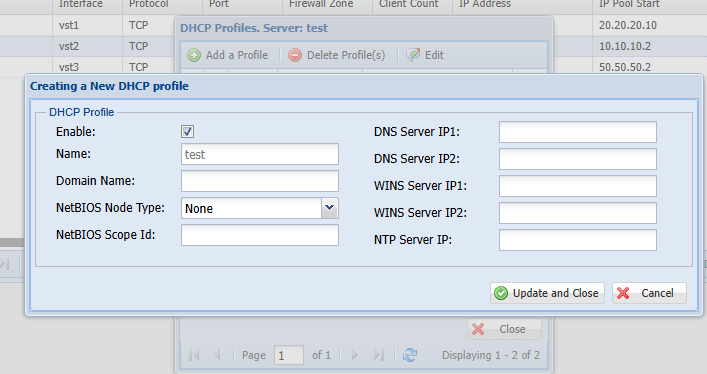
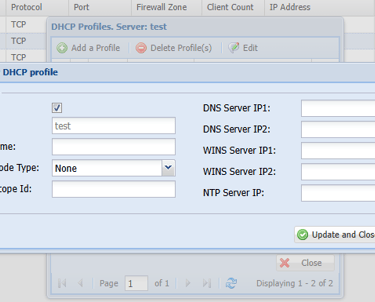
Step 16: Select the Create the Server and Click the DHCP Profile
Step 17: Mention the Name of the Profile
Step18: Click Update and Close
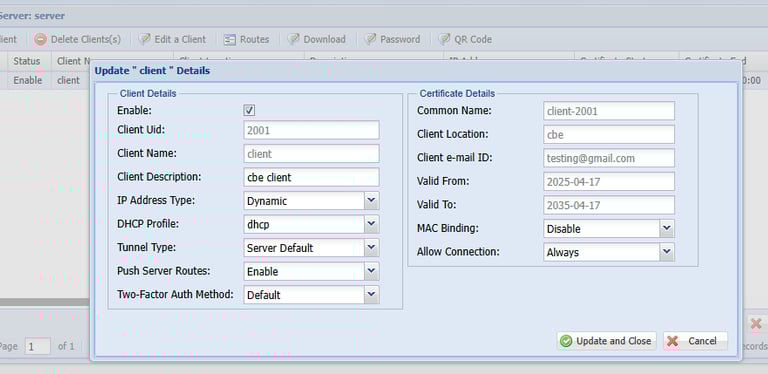

Step 19: Select the Create the Server and Click the Clients > Add client
Step 20: Mention the Client Name Address type: Default and select DHCP Profile and tunnel Type make it as server Default
Step 21: Mention the Certificate details like location, email id and Save
Step 22: Click Update and Close

Procedure Of Install Windows
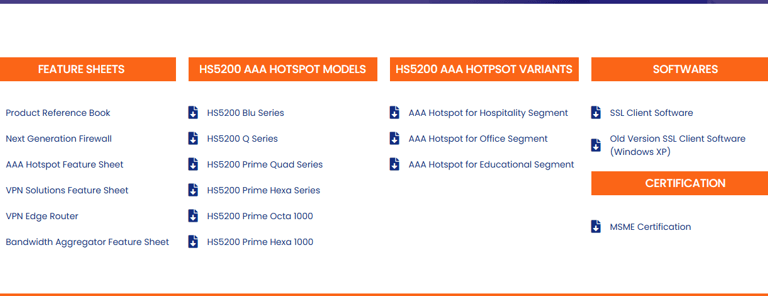
Step 1: Visit Tacitine.com > downloads tab download the Vpn client Software or Click Here -> (DOWNLOAD – Tacitine)
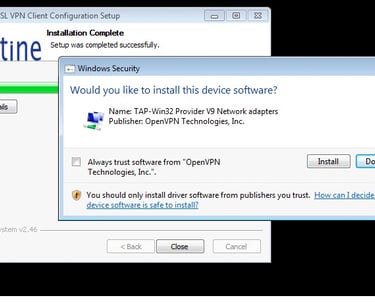
Step 2: Downloaded the file and Please Right Click the Tacitine_VPN ClientConfig.exe file and run the application In Run as Administration
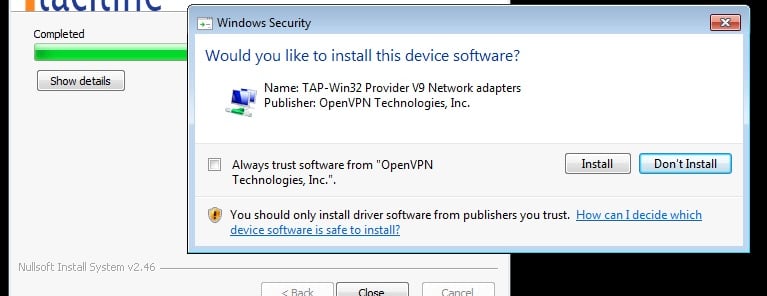
Note: First Time Installation Its Ask Install Tap Adapter Install Default It select Don't Install You Can Select Install
Step 3: The installation will Completed,Tacitine SSL VPN Icon in Show desktop
Step 4: Right Click the Ican Run As administration, After Chack with Taskbar Its Showing Tacitine Vpn Icon Right-click -> select Tacitine SSL Client configuration
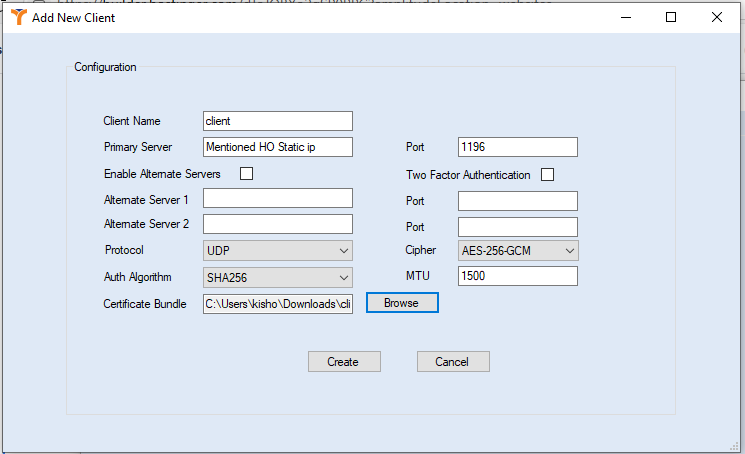
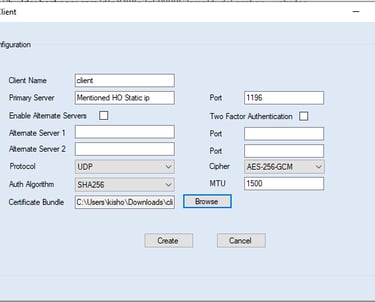
Step 5: Fill in the relevant details
* Input The Client Name E.g.: User -1
*Primary Server: flow edge “any WAN Interface IP you can use”
Enable Alternate server, you can type the wan IP or DynDNS name of the secondary connectivity
*Port: 1196 for both the servers

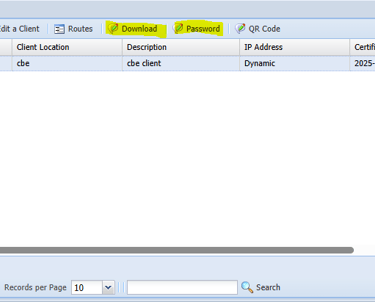
Step 6: Goto Vpn Server and Go Client Tap Download the Client file and Password
All Other Things E.g.: Chiper type,algorthm Need Same with Vpn Server and Client Configuration
Step 7: Certificate Bundle Client System You Upload That File
Step 8: Click on “Create and Save”
Step :9 Taskbar Icon Double Its Asking Private Key Enter The Client Password after Vpn Connection Successfully.
Step 8: Mention the MTU value Default value: 1500
Step 9: Select tunnel Type default value: split type (it only sends the VPN traffic to Firewall) Full tunnel (all traffic send it through to Firewall)
Step10: enter all certificate details like email, country, etc and organization name
Step 11: Click Save > Restart Services