How to configure the Email /Alerts
Step 1: Login to the Tacitine. (If you are configuring the Tacitine for the first time, the default Lan IP is https://192.168.100.1:4433) and default username: admin & Password: admin99
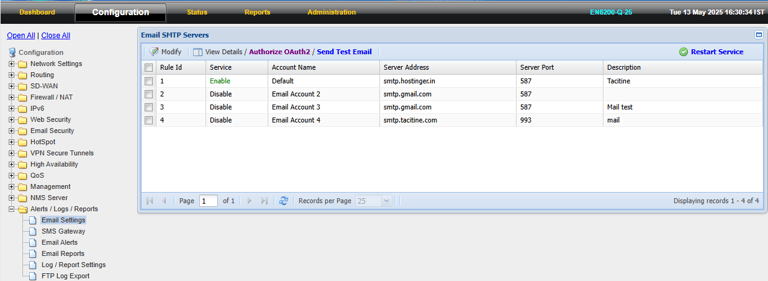
Step 2: Click the Configuration > Alert/Logs/Reports > Email settings
Step 3: Select the Account > modify > enable the services
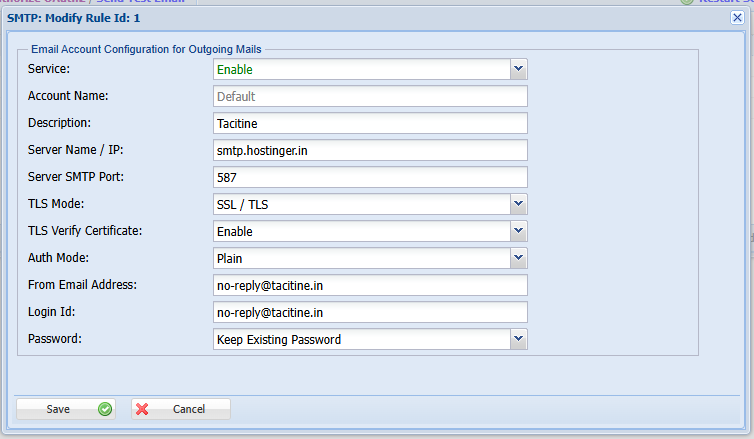
Step 4: Mention the service name and the port number of outgoing
Step 5: Check the TLS/ SSL certificate if available enable
Step 6: Provide the authentication method and enter the login email id and password
Step 7: Save > Restart services
Step 8: Select the configure the service
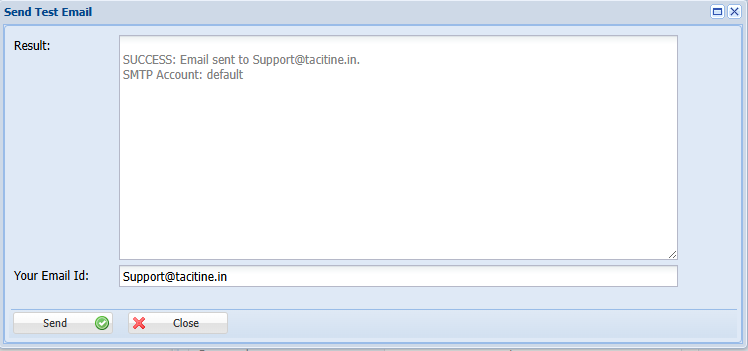
Step 9: Send a test mail > Result Success
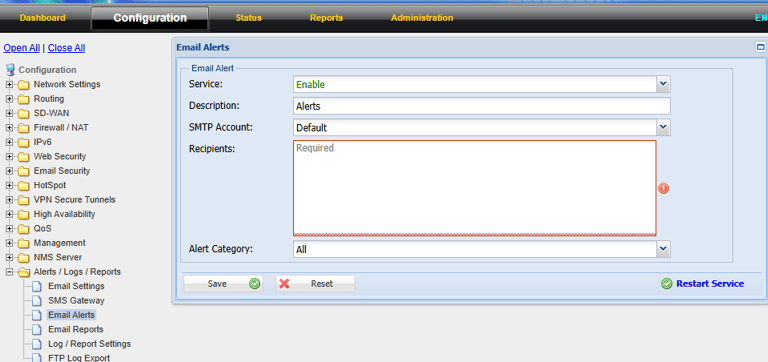
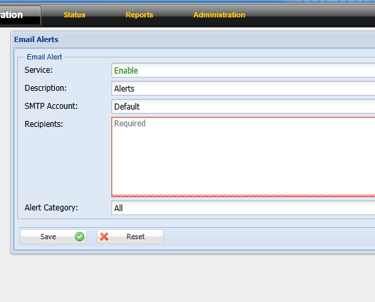
Step 10: Click the Configuration > Alert/Logs/Reports >Email Alerts
Step 11: Recipients Mail: Enter the Receiver’s email address (e.g., support@tacitine.com)
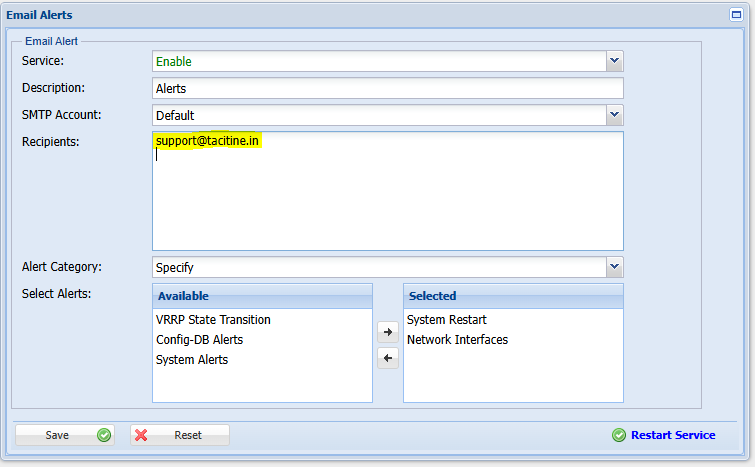
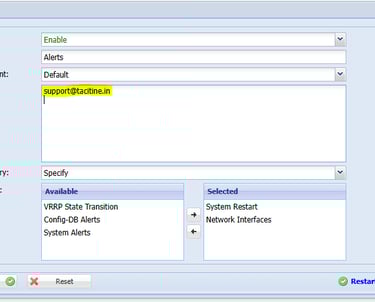
Step 12: If Specify is selected, move desired alerts from the Available list to the Selected list.
Example options include:
*System Alerts
*System Restart
*Network Interfaces
Step 13: Click the Save > Restart Service.
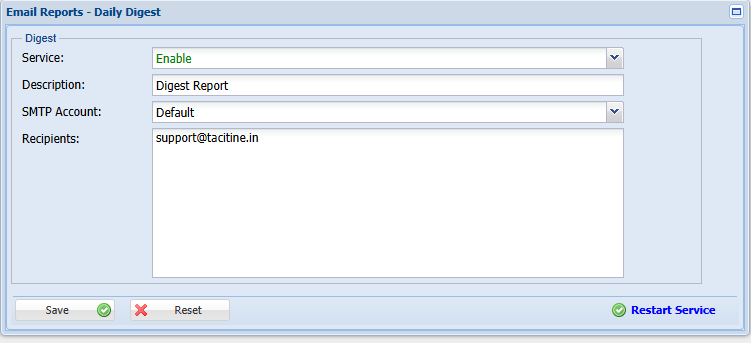
Step 14: Click the Configuration > Alert/Logs/Reports >Email Reports
Step 15: Recipients Mail: Enter the Receiver’s email address (e.g., support@tacitine.com)
Step 16: Click the Save > Restart Service.
Note: Firewall configuration backup Via Mail
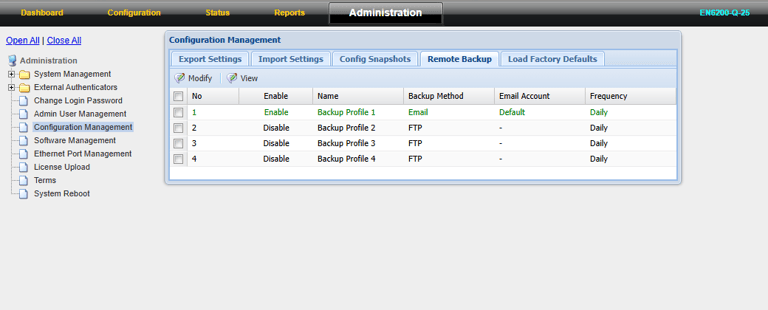
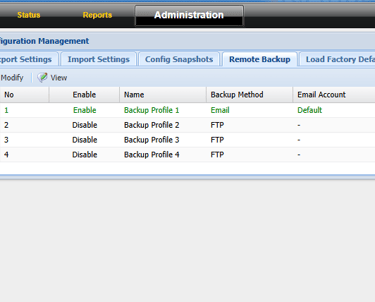
Step 17: Click Administration -> Configuration Management ->Remote Backup
Step 18: Modify Default account -> Configuration Enable
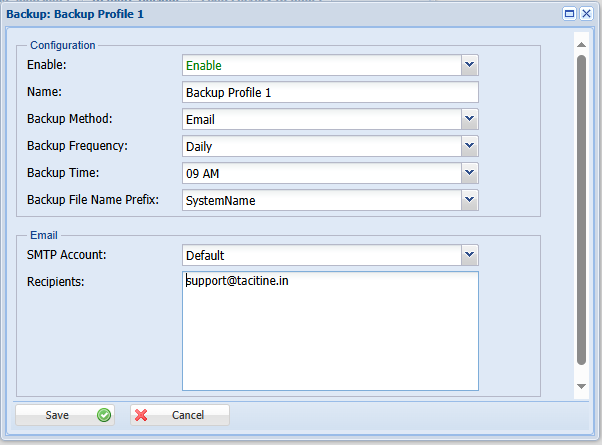
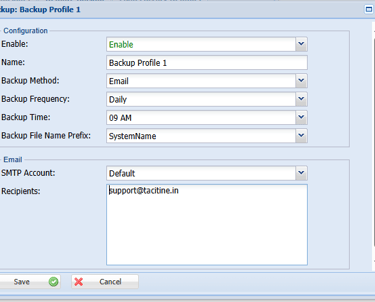
Step 19: Select Backup Method -> Email, Backup Frequency Daily/weekly/monthly.
Step 20: Backup File Name Possible for Specify Name to Change
Step 21: Recipients Mail: Enter the Receiver’s email address (e.g., support@tacitine.com)
Step 22: Click to Save ->Restart service