Hotspot User Management is used to manage all the users’ Plans, their credentials and login control.
This article explains how to set up User Management and users login control.
Step 1: Login to the Tacitine. (If you are configuring the Tacitine for the first time, the default Lan IP is https://192.168.100.1:4433)and Default username: admin & Password: admin99
Step 2: Click the Configuration > Hotspot tab
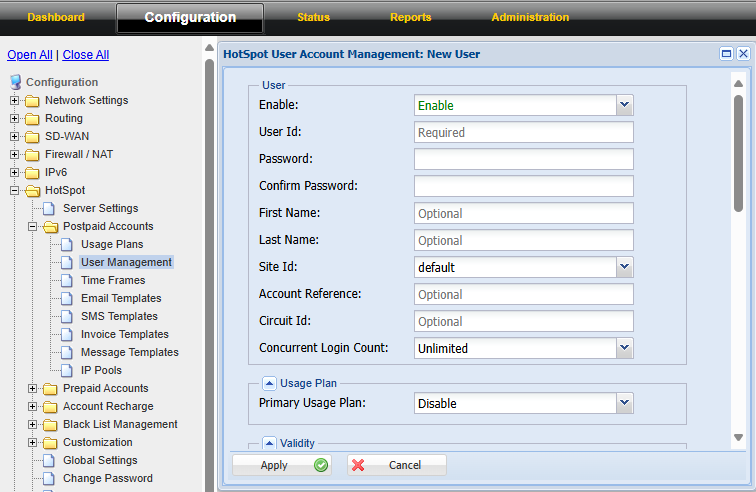
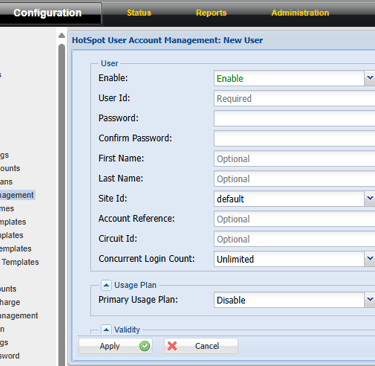
Step 3: Click the Postpaid Accounts > User Management > Add > Enable
How to Configure Hotspot User Management
Step 4: Give the Username and Password for that user. (if you configure PPPoE method these credentials used for internet access)
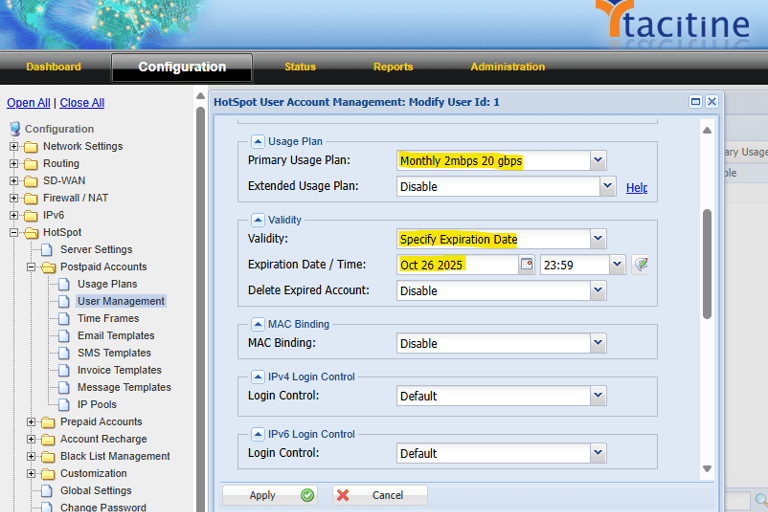
Step 5: Validity
Specify Expiration Date: You can set the user expiration after the date and time disconnected internet automatically
Delete Expired Account: If it is enabled After User account expired it will automatically delete the user from user management.
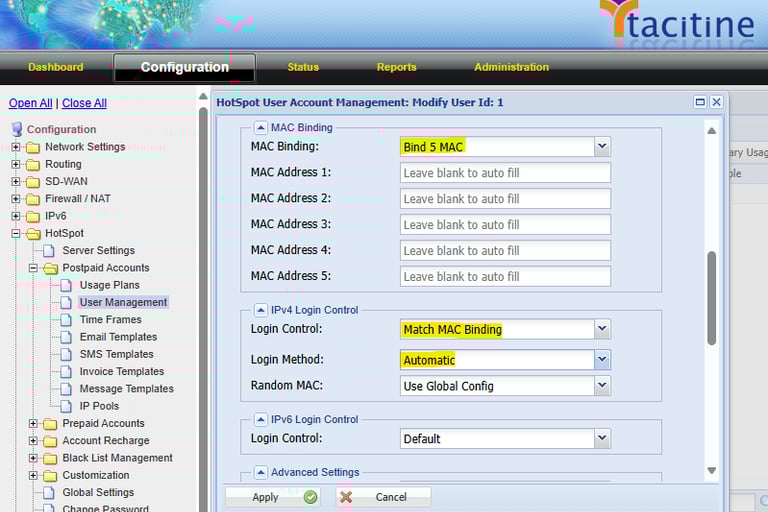
Step 6: Mac Binding: Bind 1-5 MAC Address (Leave Blank to autofill)
Note: Match MAC Binding: Bind Up to 5 MAC. Once it is captured next time if bind mac address comes it will Give the internet access automatically.
Step 7: Login Control: Match MAC Binding a If-Match MAC Binding / MAC Address is Enable When the User Gave the Credential it will check the user system MAC Address as Mentioned in the User management
Step 8: Login Method: Automatic is an Auto Login /Standard Login is an asking Username Password.


Step 9: Loing in Control: Match Ip Address Mention the IP address of the user. if getting a request from mentioned IP it will give internet access automatically for that user as per plan bandwidth
Step 10: Login Method: Automatic is an Auto Login /Standard Login is an asking Username Password.
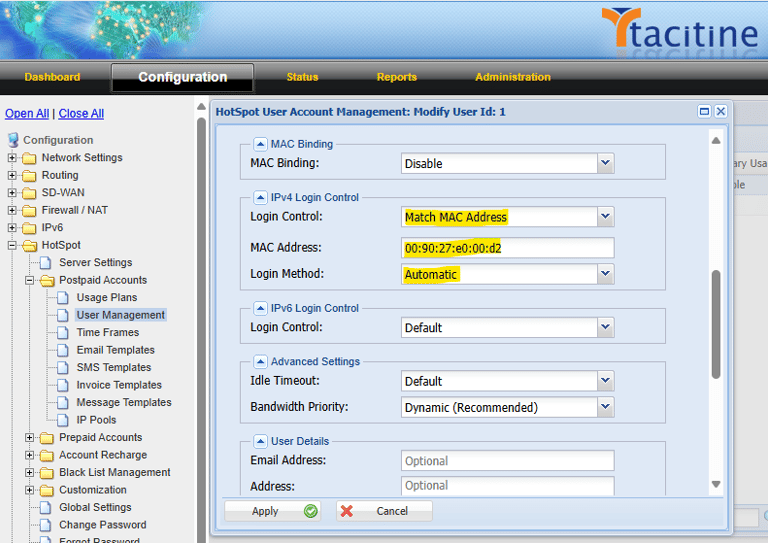
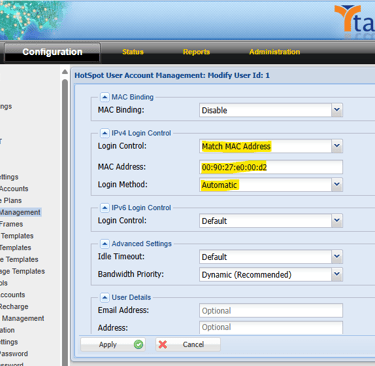
Step 11: Loing in Control: Match Mac Address If the Match MAC Address is Enable when the user gave the Credential it will check the user system MAC Address is Equal or Not. If it is Equal, then give the internet address.
Step 12: Login Method: Automatic is an Auto Login /Standard Login is an asking Username Password.
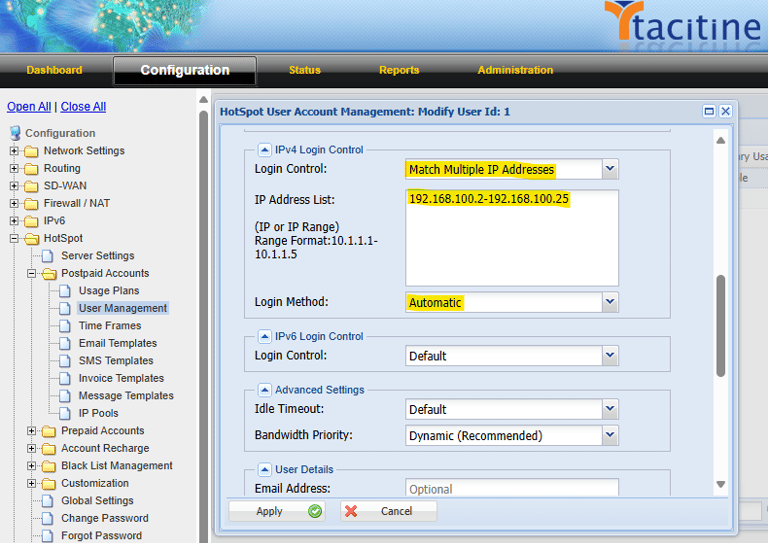
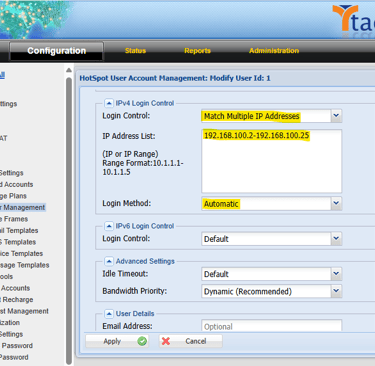
Step 13: Match Multiple IP Address: The User Can Provide Up to 25 entries per Account. If the Match IP Address Is Enable in the Login Control When the User Gave the Credential it will check the user system IP Address What we provide IP in the User management.
Step 14: Login Method: Automatic is an Auto Login /Standard Login is an asking Username Password.
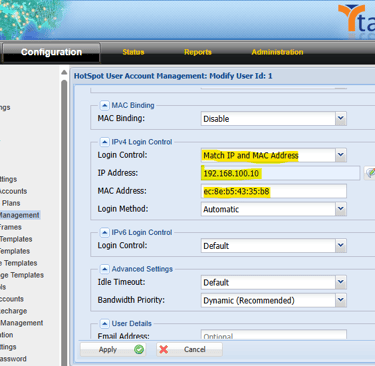
Step 15: Match IP and Mac Address: If the Match IP and MAC Address enable then it will check MAC Address and Given IP.
Step 16: Login Method: Automatic is an Auto Login /Standard Login is an asking Username Password.

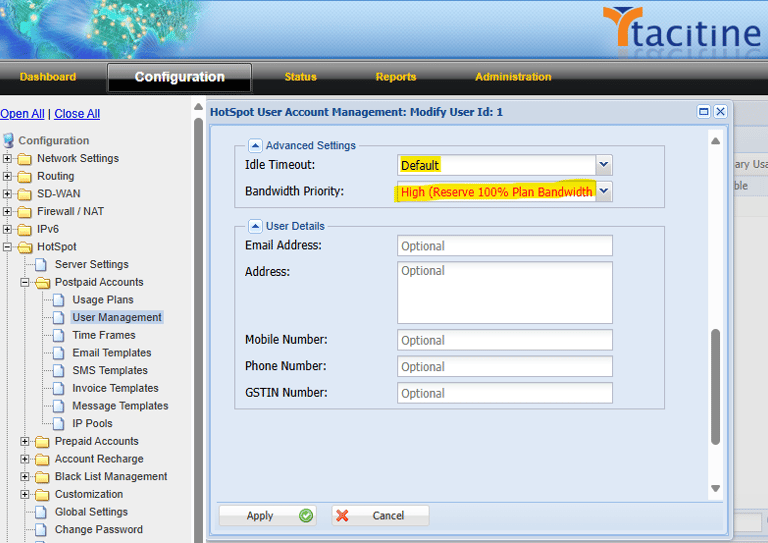
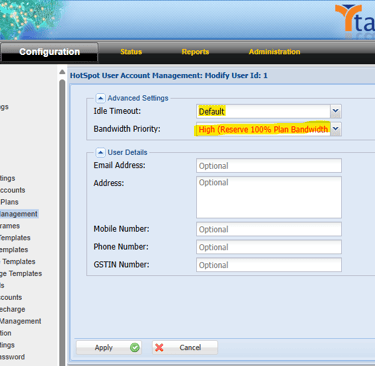
Step 17: Idle Timeout: If it is set as default user is going to idle after 30 minutes of idle. Otherwise select no timeout. Ex: Default
Step 18: Bandwidth Priority: By Default, tacitine hotspot uses the dynamic bandwidth allocation for all the users. if you want to allocate manually select 100% bandwidth.
Step 19: User Details: Mention the User email address, mobile number, GST number. (Alerts and invoices are going to the user by using these details)
Step 20: Finally Select Apply to save user account.